


Google has already started seeding the latest 7th version of Android called Android Nougat for their Nexus devices; most of the compatible Nexus devices might have received the OTA update by now. But if you haven’t received Android Nougat 7.0 update yet, then this post will help you upgrade your device to the latest version of Android.
I personally recommend waiting for the OTA or before jumping to the manual installation you can first try these steps:-
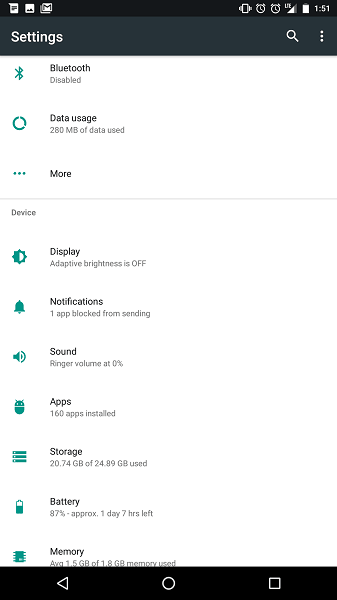
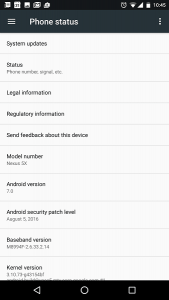
1. Go to settings >> About/About Phone >> check for update
2. Force Android OTA Updates:
Put your device into flight mode >>> go to Settings >> Apps >> look for “Google Services Framework” >> force stop >> disable >> open storage below ‘disable’ button >> now clear the cache & data >>> disable flight mode >>> enable Google Services Framework >>> reboot the device.


Most of the time force OTA method doesn’t work, so if it worked then you are lucky and if not then here is a very simple, easy and safe way to install the official OTA manually without losing your data and settings.
So, How To Manually Install Android 7 Nougat On Nexus 5X Without Losing Data & Settings?
Though this method is tested and safe, still you should be careful and backup your important data so that even if something went wrong during the installation at least you will have access to your important data. (The mentioned process is for Windows PC environment)
Now follow these steps:-
- Make sure your device is charged (Recommended 50% +).
- Download and install Google USB driver from here.
- Click Here to download and install Minimal ADB Fastboot tool.
- Now Click Here to open the Nexus OTA page.
- Tick the “terms and conditions” checkbox to proceed further.
- Now click here or follow the link https://dl.google.com/dl/android/aosp/bullhead-ota-nrd90m-fdb8250a.zip to download the OTA update for Nexus 5X.
- The OTA file is very big in size (1.1GB) so it may take some time depending upon your internet speed; be patient till it downloads completely.
- Once the download is completed >> copy the downloaded zip OTA file and paste it inside the installed “Minimal ADB Fastboot” folder eg. C:\Program Files (x86)\Minimal ADB and Fastboot\.
- Now enable USB Debugging:- Go to Settings >> About phone >> scroll down to Build number >>> tap build number seven times to enable the developer options.
- Return back to setting scroll down to Developer options >> look for “USB debugging” and enable it.
- Connect the device to PC and let your computer apply necessary driver updates.
- After completion of necessary driver updates open the fastboot terminal by running the file “MAF32.exe” from the same directory (C:\Program Files (x86)\Minimal ADB and Fastboot\). If you have Minimal ADB and Fastboot shortcut on your desktop you can run it from there also or from inside the Minimal ADB and Fastboot folder, press & hold the shift button and press right click button >>>click on “Open command window here”.


I am assuming, till now you have installed Minimal ADB and Fastboot, Downloaded the OTA zip file, moved the OTA zip file inside ‘Minimal ADB and Fastboot’ program file directory, enabled the USB debugging from developer options and your Nexus device is powered on and connected to the PC using a proper data cable.
- Now go to Minimal ADB and Fastboot command window type adb reboot recovery and press enter. This command will put your device into recovery mode and you will see the Android logo with a red exclamation mark on the screen.
- Now on your phone press & hold the power button and press volume up button once >> a menu will appear >> select the option ‘Apply update from ADB’ from there.
- Type adb sideload ota-file-name.zip (replace OTA-file-name with the name of the downloaded OTA zip file) and press enter. The installation will start as soon as you hit the enter, it will not take long so wait for the installation to finish.
- After successful installation type adb fastboot reboot and hit enter. This command will reboot your device.
On next boot up your device will be having the latest Android 7.0 Nougat installed on it. The installation process is same for other Nexus devices you just need to replace the OTA zip file with a specific OTA file which you can find here.

If you need any further help, leave your queries in the comment section and please feel free to share your thoughts to make the post better.


